
These are the finished products!
 |
| Aren't they cute?? |
Terminology
- MR - Magic Ring
- ch/chs - Chain/Chains
- dc - Double Crochet
- sl st - Slip Stitch
- st/sts - Stitch/Stitches
Supplies Needed
- A small amount of any type of yarn (I normally use the Bonbons sets by Lion Brand yarn, but you can use whatever type of yarn you want. Just keep in mind that the thicker the yarn, the bigger the flower. In this tutorial, I will be using Sugar'n Cream by Lily yarn because it is slightly thicker and photographs better)
- E 3.50 mm crochet hook (I always use the E hook with these flowers whether I am using the Bonbons or the Sugar'n Cream yarn because I like the stitches to be tight)
- A yarn needle for weaving in the ends of the yarn
Notes
- All the flower petals are created in the same way, except for a slight variation on the first petal which I will explain.
Small Crochet Flower Pattern
- Step 1: Make a MR, ch 1
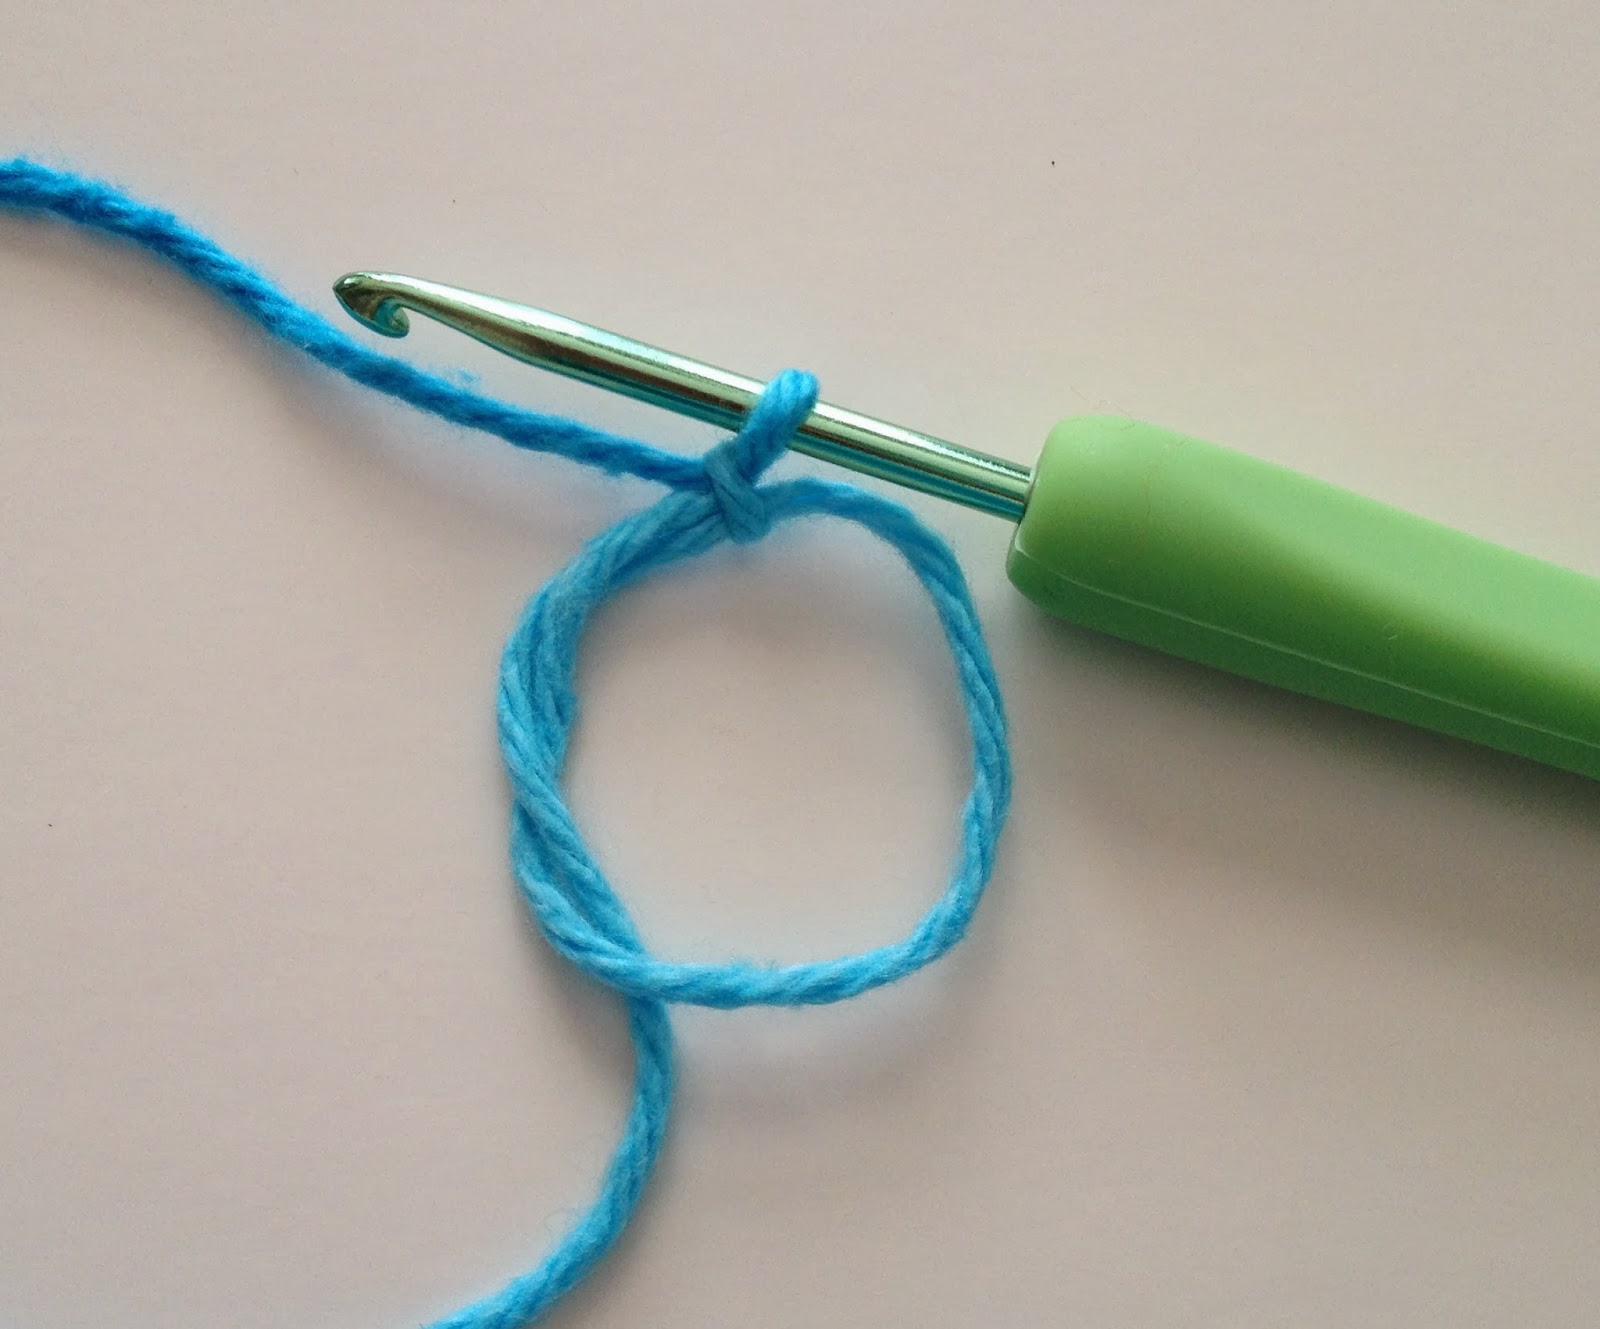
- Step 2: ch 2 (At the beginning of the rest of the petals, you will ch 3. But finishing off the magic ring in the previous step requires a ch 1, so you only ch 2 for the first petal. This insures that the height of the chs are correct)

- Step 3: dc into MR

- Step 4: ch 3
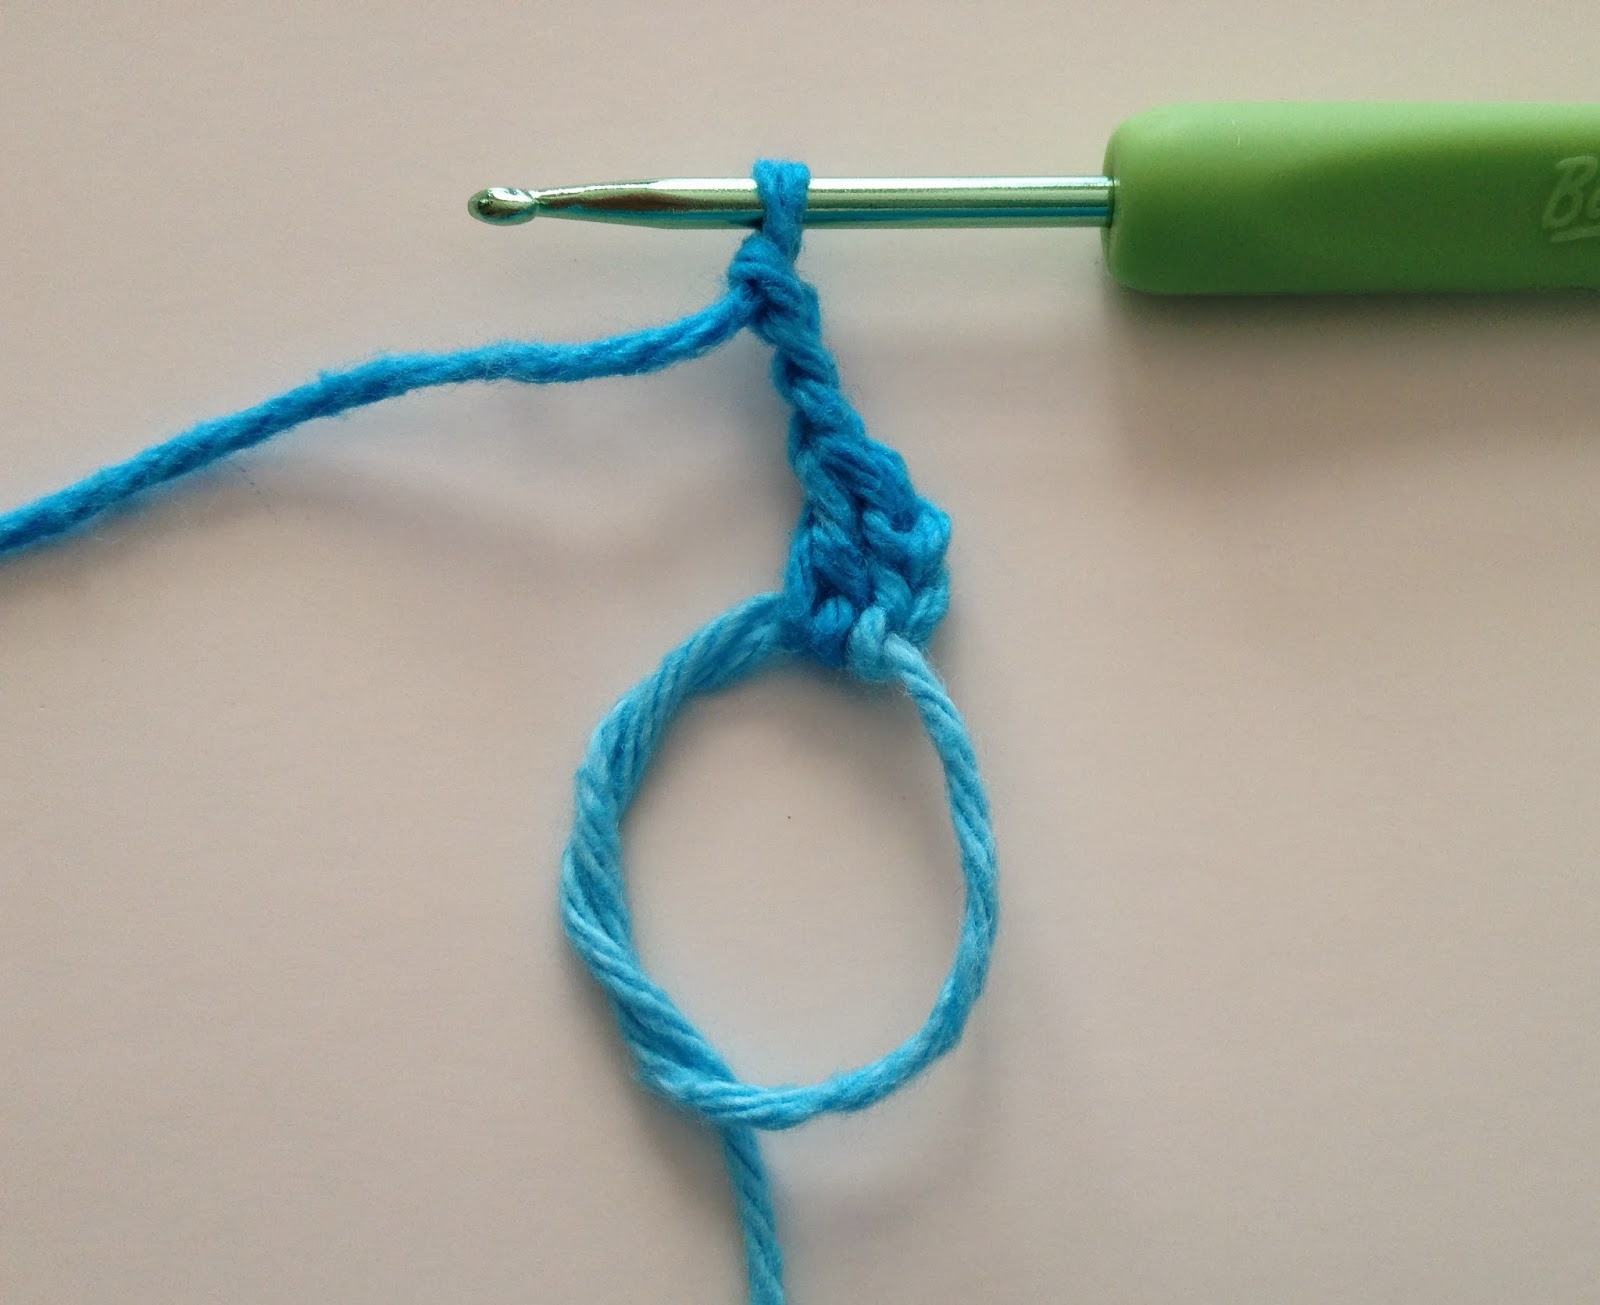
- Step 5: sl st into the MR

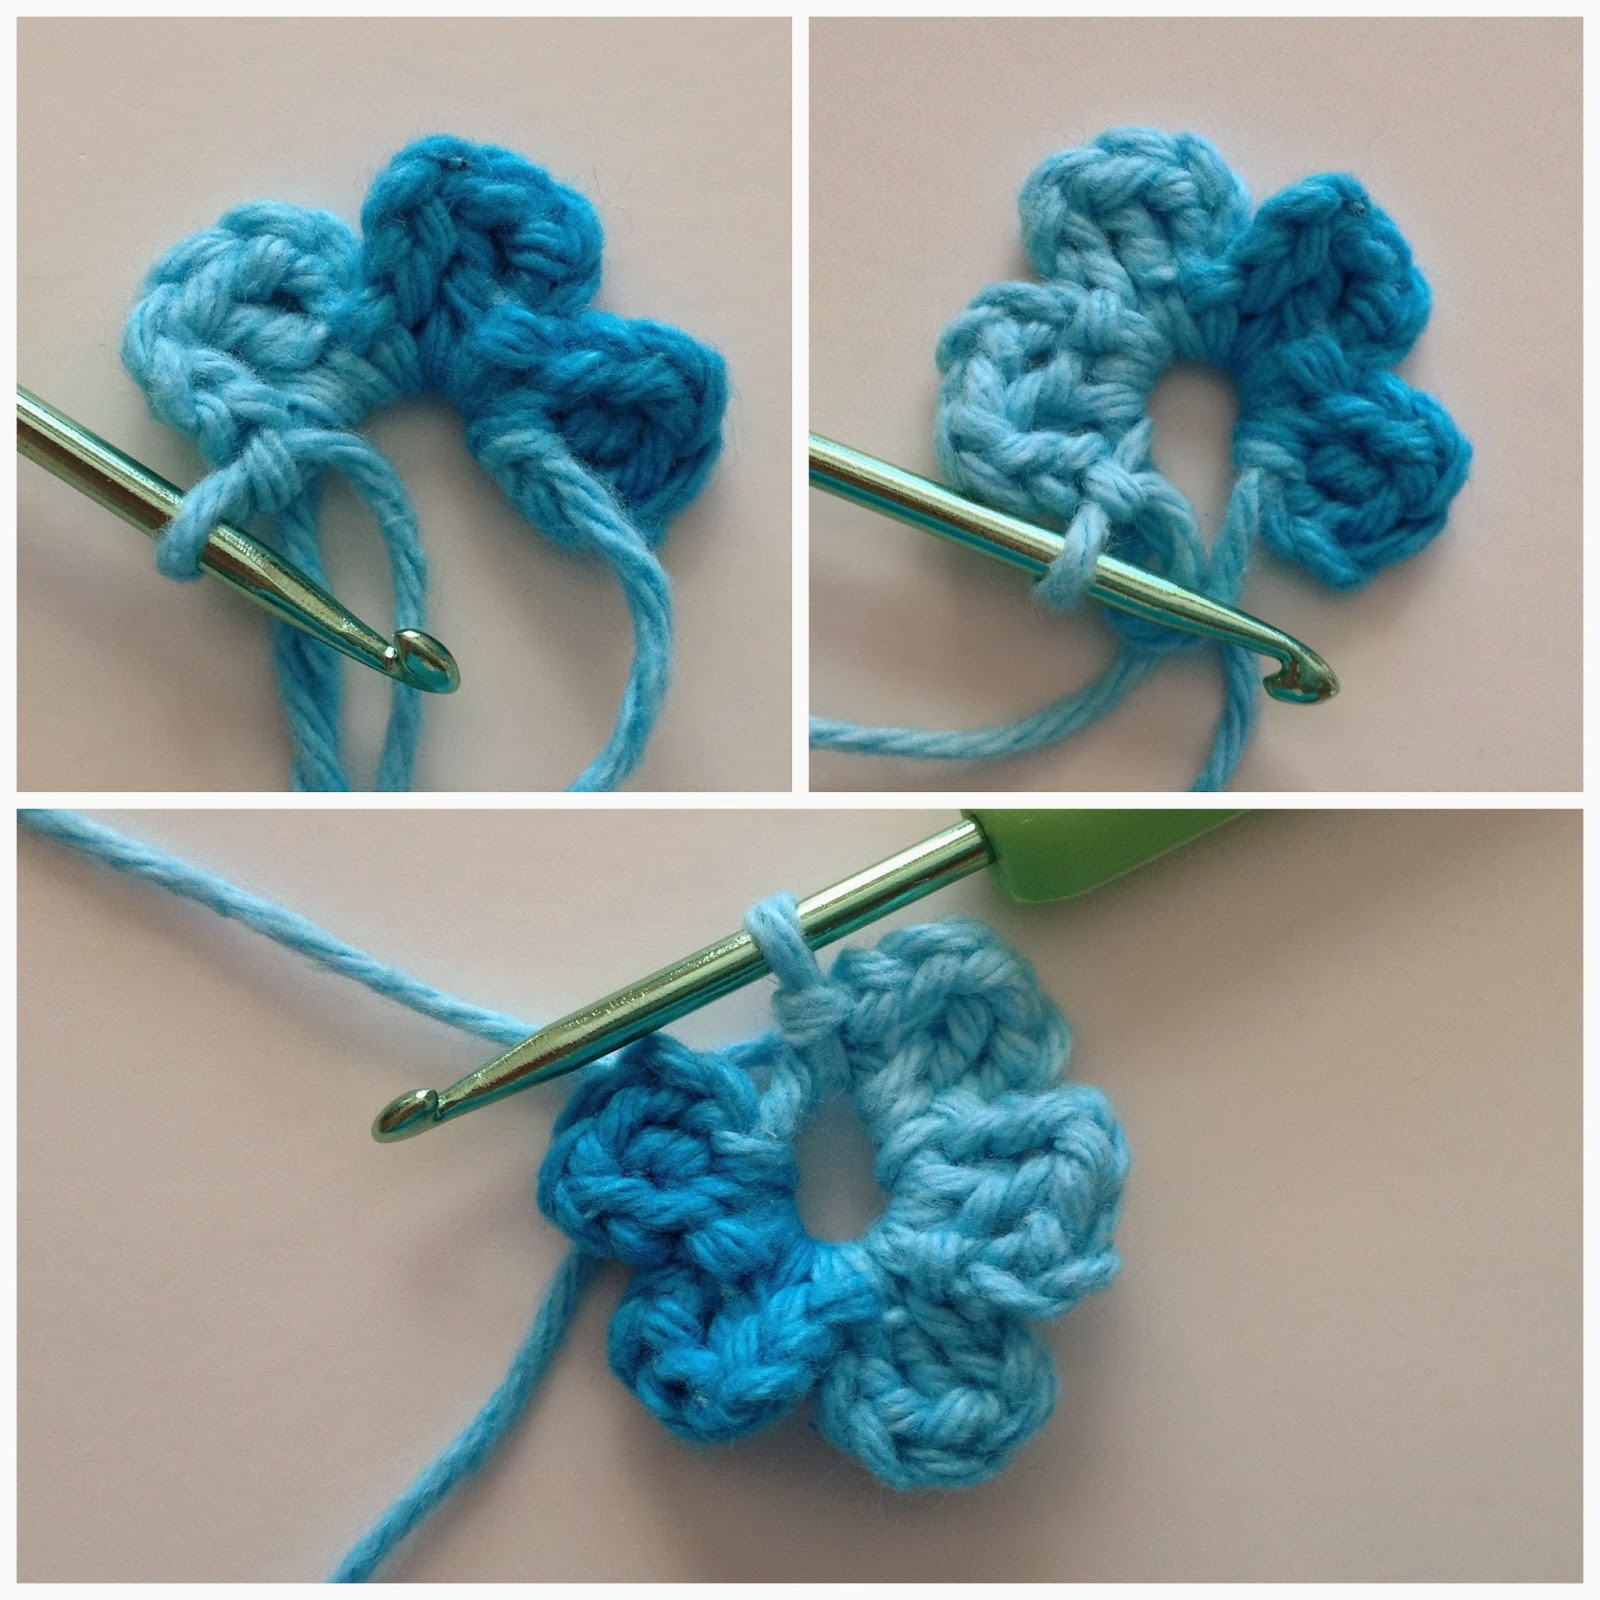
- Step 6: ch 3

- Step 7: dc in MR

- Step 8: ch 3

- Step 9: Sl st into MR

- Repeat steps 6-9 3 more times to make three more petals
- Remove your crochet hook, and cut the working yarn. Pull the working yarn through the final sl st loop you made, and pull it tight.

- Thread the strand that you just tightened through the middle of the flower so that the strand now comes out of the back

- Pull the MR tail until the hole in the middle completely disappears. You now have a finished flower! This is what the front and back should look like

- The final step is either to weave in the ends, or use the ends to attach the flower to a project!
If something about this pattern doesn't make sense, or you have any questions, feel free to ask!
Thank you! These are the perfect little flowers for my children's teacher appreciation gifts. :)
ReplyDeleteI'm so glad you liked the flowers and that they where what you were looking for!
DeleteThank you for posting this I love them, I was looking for some easy flowers to make and now thanks to you I have them!
ReplyDeleteSo glad you liked them and that they were what you wanted!
DeleteThanks for the pictures. I don't crochet (i can chain), but based on these pictures, I think I can make these. Much easier than knitted flowers!
ReplyDeleteI'm so glad you liked the pattern! I hoped it could be a feasible project for any level crocheter! And yes I agree, much easier than knitted flowers! If you have any questions let me know :)
DeleteThanks. So cute and I can make a bunch and make into hair clips. Even put a few together like a bunch.
ReplyDeleteSo glad that you like the pattern! Those are both great ideas!
DeleteThese are some of the clearest instructions and images I have ever seen for any crochet project. Thank you.
ReplyDeleteI'm so glad you found them clear and easy to follow, I hoped for that with this pattern for everyone! I hope you enjoy your creations!!
ReplyDeleteLove the flowers, think the instructions are great too! Thank you for sharing.
ReplyDelete